
I simple copy and pasted her tutorial in green:
- Log into your regular "your name" Account.
- Go back to this thread and click this link: http://www.facebook.com/pages/create.php
- Click brand/product- online store, do not register as a non profit.
- Choose a name, preferably your Etsy business or website name.
- Mark the "official page" check box and click "create official page." box.
- Right below the "become a fan" button is the "wall" tab and the "info" tab. Click the info tab and then "edit information" - Under basic info put in the year your business started.
- Click "detailed info" - Under website put the http:// URL for pointarenapintos or photographicart. Also list the email you want associated with the page, in the next line, under website.
- Company overview- to make stuff and sell it.
- Put in your mission. (to make more stuff and sell more of it!)
- You can list products or leave it blank.
- Hit "done editing."
- Hit the little + sign next to the wall and info tabs. Add a photos tab. This is where you can upload "photo albums" and show off your products or fun photos (studio shots, favorite stores and so on). As long as you upload pictures that are smaller than 500x500 people should not be able to reproduce them. You should also upload single pictures to your wall to keep your fans engaged. I will cover that at the end of this post.
- Hit "edit page" on the left under the question mark.
- Under settings, Enter a country (US.) Leave age restrictions 13+, Published (you can click for it to be unpublished until you feel ready) Click Save Changes
- Wall Settings - If you put only posts by page, only what you post will be seen by your fans. If you put by page and fans any fan posts will be seen by all. It is best to let your fans post too. You can keep the default setting - "posts by wall" and people will have to click to see posts by fans and you- this is best if people put lots of spam posts on your wall.
- Ignore everything else, it's fine the way it is
- Go back to the question mark at top of Edit page and click it- this will take you back to the fan page.
- Once you are on the page click the "?" and hit "change picture" this will allow you to upload your profile picture. Once you have done this you are ready to start posting and "publish" your page.
- Under your new profile picture there is a link that will say "suggest to friends". Click this and then click on everyone in your "friends" folder and hit send invitations. You should also "follow" up with a personal message asking all your friends to share the page and help build support for your business.
- Add 1-3 photos a week
- Ask fans about to share their opinions, similar works, input.
- Do share your new "product related" blog posts
- Do lets fans know if you are having a sale or new product launch.
- Do not always post links to your website, it is better to engage your fans and let them support you on their own.
- Do not "fan" other pages just to add your own page. (yech)
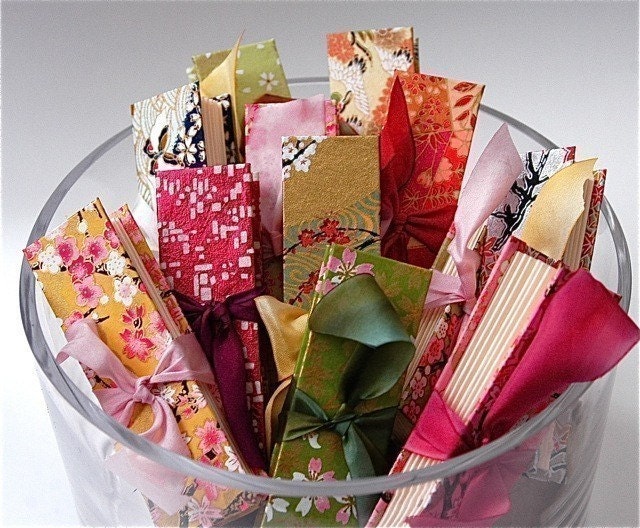
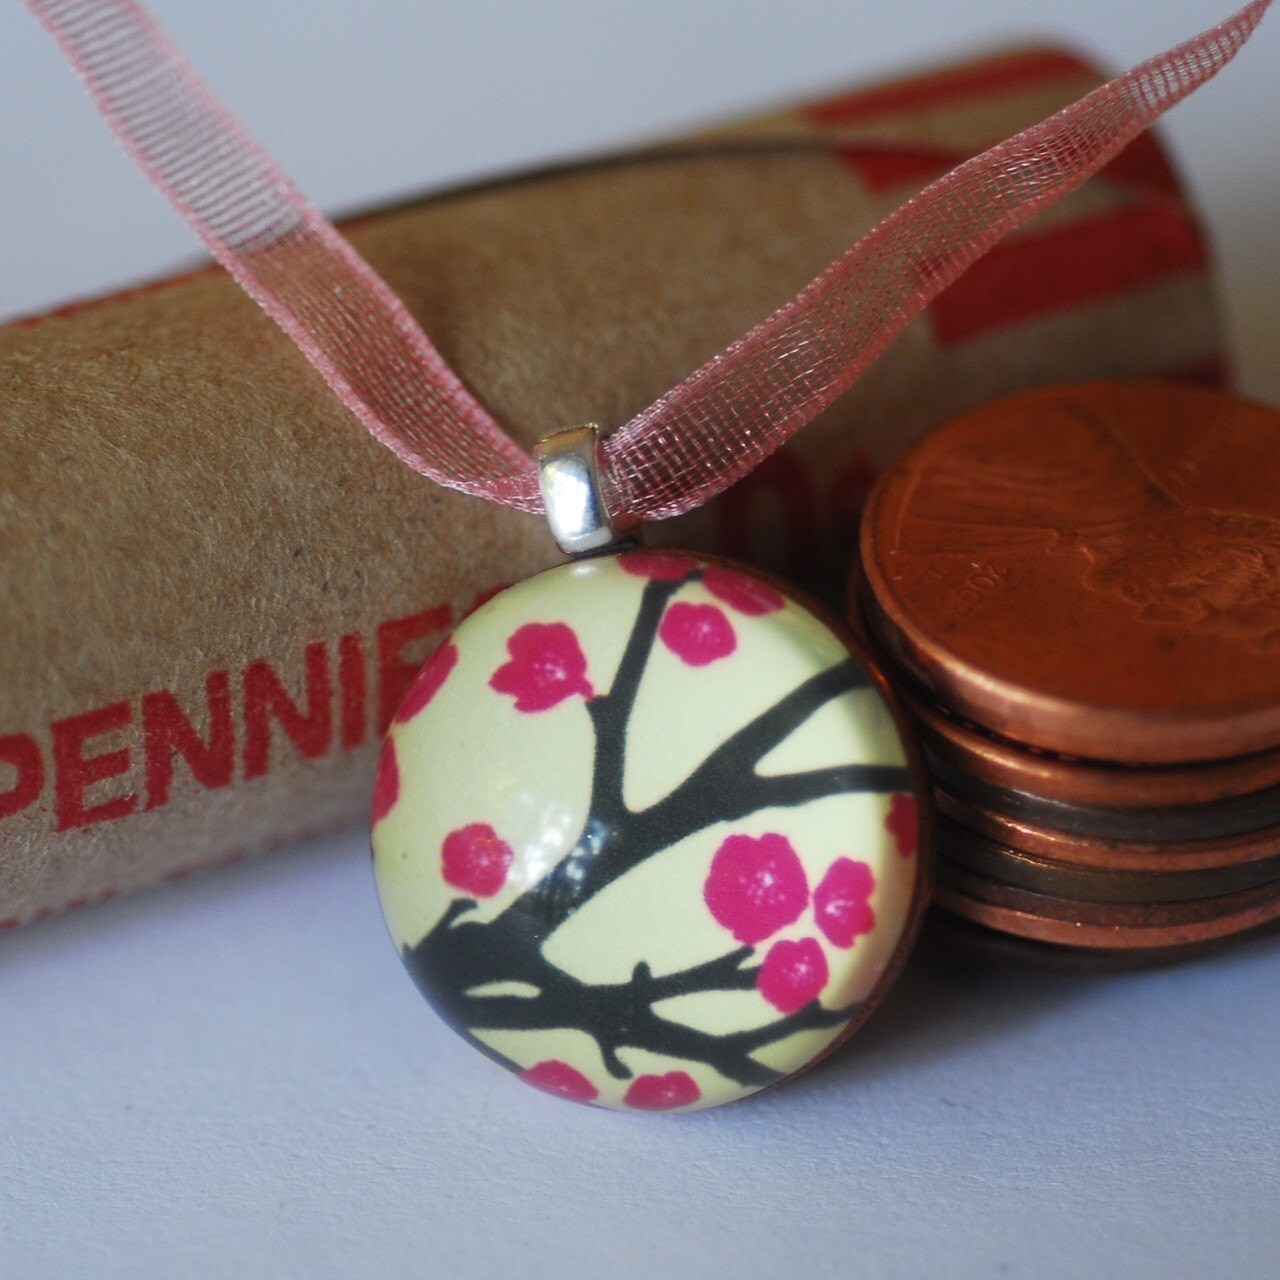
I've already built my own fanpage, but never realized that others needed a tutorial. In addition to her insight, her products are simply gorgeous!

No comments:
Post a Comment